Listening to Hi-Resolution Music in India has always been a challenge for the Indian Audiophile. It would usually involve carrying terabytes of hard disks to Headphone Connect events and exchanging music libraries with other attendees. Those with a slightly more motivated existence would scour the internet for FLAC files to download over the night. (Note: We're not for a minute supporting music piracy. Please pay for the music.) But lets, face it. Its a pain to find and listen to great quality hi-resolution lossless music.
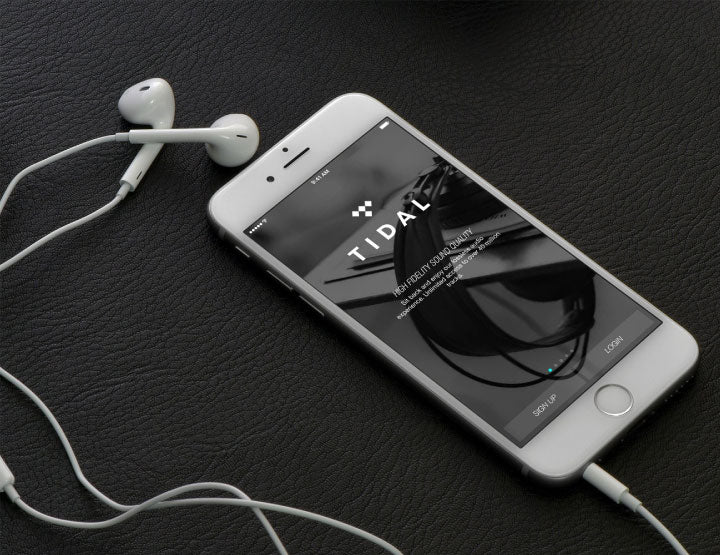
TIDAL, the JAY-Z owned Hi-Fidelity Music Streaming has truly changed the game for audiophiles around the world. The convenience of streaming millions of songs from thousands of artists from around the world, all from your smartphone or Hi-Resolution Player, is simply unparalleled. Recently, TIDAL has partnered with MQA to launch TIDAL Masters, it's Master Quality audio offering to all TIDAL premium users at no additional cost. Thousands of songs, all in Master Quality Hi-Resolution, all for free. Pretty incredible. What's more TIDAL launched its App for Astell&Kern Hi-Resolution Audio Players, allowing music to be streamed directly from the AK70, AK300, AK320 and AK380.

Sadly, TIDAL has not officially launched its services in India.
Thats a bummer. Apple Music has its game way ahead of TIDAL and Spotify in India, but neither Apple Music, nor Gaana or Saavn or any of the other streaming services come even close to the audio quality of TIDAL. And if you're listening to TIDAL Masters, we're talking about a difference between 259kbps, which is commonly used on all streaming services, and 4,608kbps. Think about all the music that you're missing out on.

So we were not about to give up, and listen to poor quality audio with our incredible collection of Headphones, nor do we think you should.
How to use TIDAL in India
1. First, you'll need to create a TIDAL Account, for which you'll need a VPN. Our choice of VPN is Hola VPN which simply gets added as a browser Extension. It's for free, and easy peasy.
Here are some links to get you going.
'Unlimited Free VPN - Hola' extension for Google Chrome
Hola VPN addon for Mozilla Firefox
You can visit Hola's website for more details and downloads for other browsers and platforms.
2. Install the Hola VPN on your browser. Once installed, you're prompted to 'Select country'. Choose USA / UK from the options given.
3. Head over to the TIDAL website and create an account. Simply click on 'TRY NOW'. It'll no longer give you a "Currently Unavailable in India" message.
4. When creating an account, you will be presented with 2 Plans to Choose from. The TIDAL Hi-Fi Plan (for $19.99) or the TIDAL Premium Plan (for $9.99). Choose the TIDAL Hi-Fi Plan to get Lossless Audio Quality and access to TIDAL Masters. The TIDAL Premium Plan will save you $10, but it's really not very different from the audio quality given by other streaming services.
5. Under payment options, choose Paypal, or use a Credit Card for which international payments have been enabled. If not, simply call your bank and ask them to allow it. Paypal is just as easy to use. You can link it to your Bank Account, Debit Card or Credit Card in India.
6. Once the payment details have been entered, you're good to go! You can disable the VPN at this stage if you like.
7. Download the Desktop App for Windows or Mac to use it from your laptop. Once downloaded and installed, simply log in using your account details
8. Lets install the app on our mobile device.
Android
Simply download the APK file from the internet by simply Googling 'Download TIDAL APK'. I would've posted a link to the file, but with every new release, you'll find a different link. So I simply encourage you to find the latest link by googling it. Once, downloaded, install the file on your Android Smartphone, and Log in using your account. And you're good to go.
iOS Devices
For use with iOS devices, you'll need to log in to the US App Store to download the TIDAL app. It may need you to either switch your country to the USA, or to create a new account and select the USA as your Address, in order to get access to the US App Store.
How do I make an American account without an American address though? Don't worry, we've got you covered.
- First, you will need to register with a Parcel Forwarding service like Borderlinx or Viabox or any of the multiple such services available online. These services are used to forward packages bought off online stores based in other countries.
- When you register, you are provided with an Address and Phone number for the given country. So choosing the American Residential details, you can now create a new American ID in the App Store and you can do so without providing any Credit Card information by following the steps illustrated here.
- Once, the account is created, you can now log in with that ID on your device (Settings->App Store->Log In, if you are logged in with your original account, you should Sign Out).
- Now, you can simply download the Tidal app from the App Store. You can log back in to your original account now.
- You will need to use a VPN to register to Tidal if you haven't already done that on your desktop. Once registered, you do not need to keep using the VPN and can stream as much as you want!
Astell&Kern Devices
With an AK Player, you'll need to click on Store on your Astell&Kern Home Screen. Select TIDAL and it'll download the TIDAL App on your Astell&Kern Player. Once downloaded, simply enter your account details and you're good to go.
The process is actually a cakewalk. And it's well worth the 10 minutes you spent reading this blog post, and the 15 minutes it'll take you to go through the above steps. Once you're set up, using it everyday is really easy, and there's no looking back. You'll never listen to Lossy Music again.





















Leave a comment
This site is protected by hCaptcha and the hCaptcha Privacy Policy and Terms of Service apply.